Showing posts with label crafts. Show all posts

Monday, 30 November 2015

Some Crafty Ideas with Bostik

I have a confession to make. I am a stationery junkie. Back in my school days, I would salivate over all those back to school catalogue and owned every sort of pen from the fluorescent gel ones to the metallic ones. My daughter appears to have inherited this trait. So, when this amazing package from Bostik arrived for review (and Noodle was home when I opened it), you can imagine the reaction in our house. I mean... look at it... can you blame us?


As you know, we do a lot of art projects at home. In addition, Noodle starts grade R in January so I am sure all these glue sticks are really going to come in handy!

I have learnt from experience that glue sticks are something where you should not skimp on the ‘budget’ brands and to rather stick to the brands that work-like Bostik!

 
Bostik has been around as long as any of us can remember- more than fifty years in fact. However, they have now gotten a facelift with a sleek new look and a new tagline, “Smart Adhesives” to the one you already know (“don’t just stick it, Bostik it”).

Their new mascot is the adorable Gary the Gecko (you know, because Geckos are so remarkably good at clinging to just about any surface, just like some of the products). I bet you didn’t know that geckos can support their entire body weight on a single toe! 
We have not played with our new toys yet too much, except for the crayons and the glitter glue. I must say I love the design of the retractable wax twister crayons as it is easy for little ones to grip and they do not snap like regular wax crayons. 
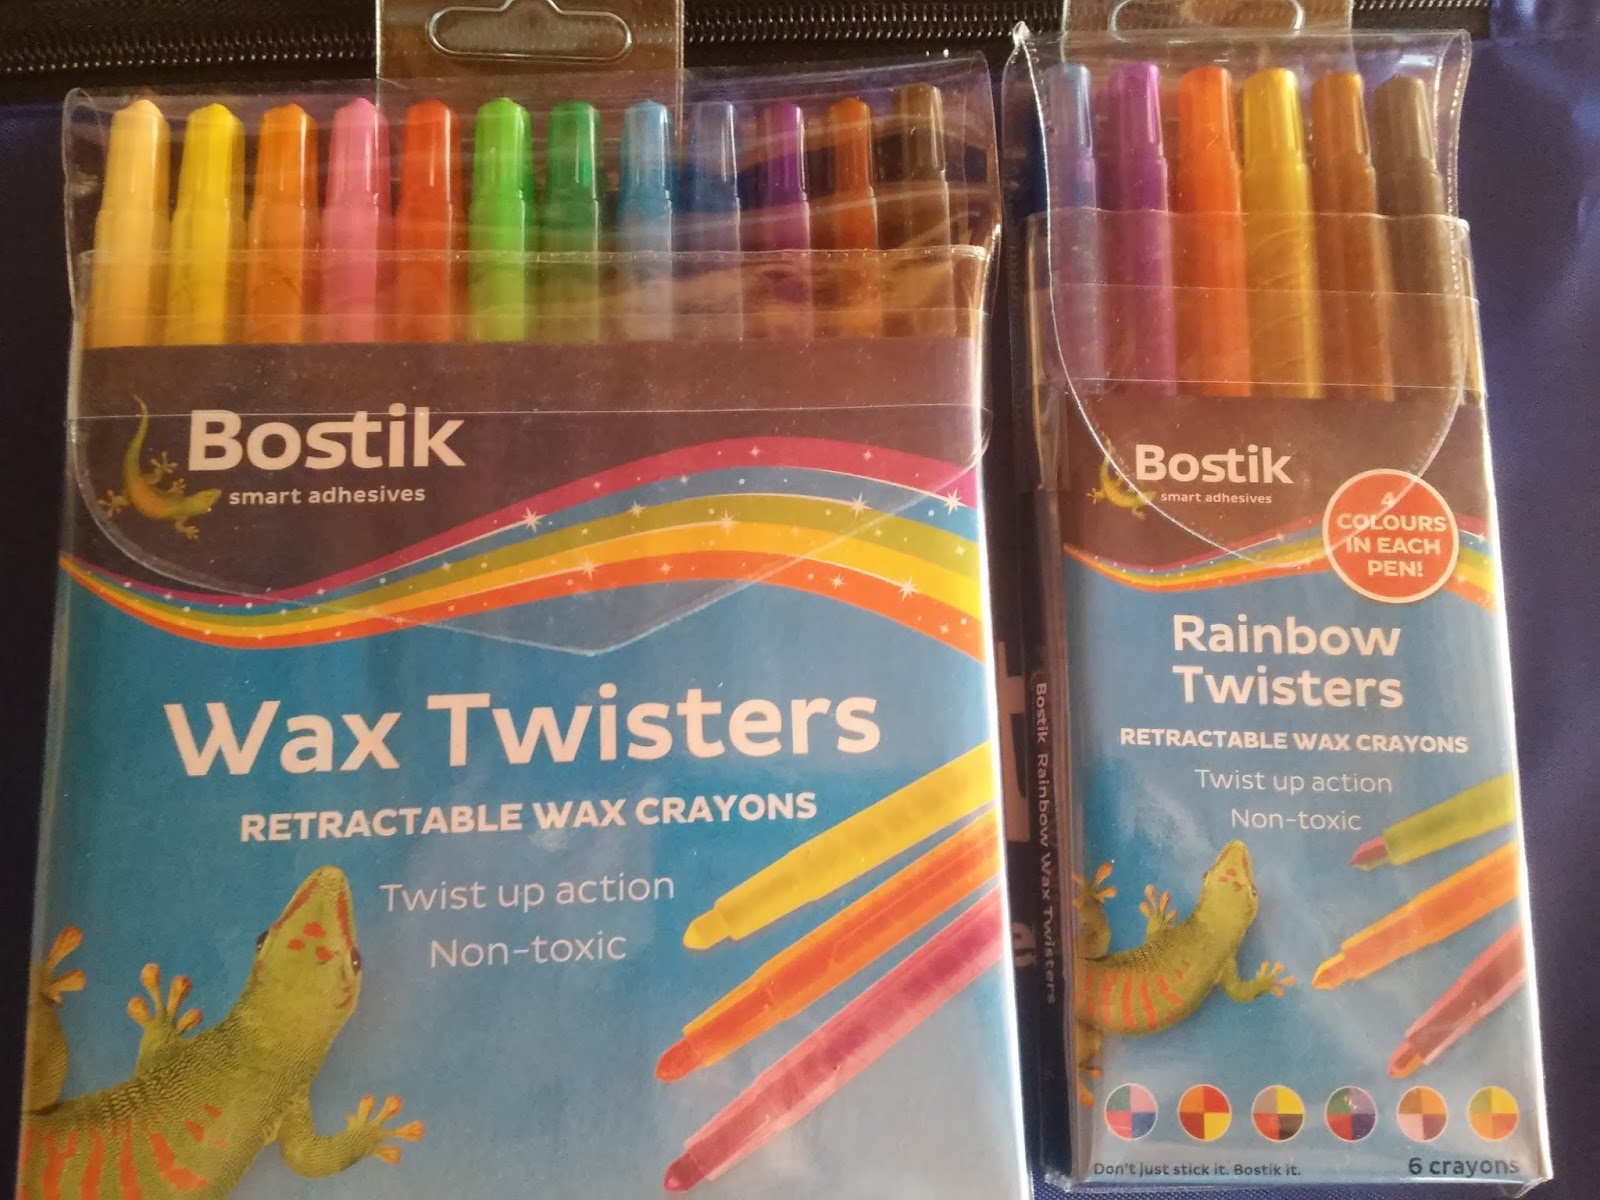

The 4-in-one crayons are just so much fun and can be put to an infinite number of uses! We just had to try it out, so Noodle drew a Minion (the obsession has not gone away yet) and even I did a little two minute doodle.


The glitter glue is of great quality and has just the right ratio of glitter to glue (unlike some others that I have used before that hardly have any glitter, or don't stick to the paper properly).


I drew a stick figure princess in pencil and let Noodle practice her tracing skills using the glitter glue.


This week, we plan to do teacher appreciation cards (to go with some store-bought gifts we bought). The plan is to make scratch art cards using the awesome retractable wax crayons.

Here is how:
  •  Colour thin stripes of colour onto cardboard or paper so that the entire card is covered in crayon. Use lots of colours- bright colours work best.
  • Cover the entire surface with a thick layer of black poster paint until you cannot see the crayon underneath. 
  • Allow to dry.
  • Scratch away your desired message/ picture with a toothpick or skewer.

Easy! We will of course be wrapping the gifts using the awesome Bostik tape received and then sticking the card on using the Bostik Prestik (which is a staple in our home). Of course, the glitter glue will be used to add some extra sparkle.

Wednesday, 20 May 2015

Quick Kids Art Using Recycled Waste Products

Noodle always likes to do something arty when she is home with me and Squish is napping.

Here are some of the things we have been up to lately. These are all quick and easy and primarily use waste materials which otherwise would have been discarded.

COUTURE FOIL HAT AND BANGLE

flower art crafts toddler child kid recycled

The bangles are literally just scrunched up foil.

The hat is lined with a re-used disposable plastic bowl, which gives it the firm shape. The flower is cut out from a cardboard tray.

EGGTRAY FLOWER

upcycle recycle waste artcrafts child


This is so easy that Noodle was able to do this on her own with a bit of supervision.

1.Cut out four 'egg holes' from the egg tray (with a bit extra cut out from in between to create the petal shape).

2. Tape a straw at the back as the stem. (We twisted a green pipe cleaner around the straw but you could use a green straw or paint the straw green).

3. Paint the flower as desired. 

FINGER PUPPETS

These ones came pre-cut in a craft set, but could just as easily be made with off-cuts of felt, stiff cardboard to line with (toilet rolls or foil inners will work well), some glue and a few googly eyes.

animals crafts felt monkey dog bear lion


Sunday, 17 May 2015

Some Decor Ideas Using Metallic Sharpies

I have officially been hit with the metallic sharpie bug. Since having found them, I have found it difficult to resist the urge to effortlessly make things shiny and metallic (just call me Midas). 

I am no artist, but everything looks pretty when you add a bit of sparkle to it. I have added metallic edges to a few items for a touch of glamour in a matter of seconds and also marked random items like lunchboxes with names using these.

I also used a silver metallic sharpie to transform a generic black tablet cover. It took about fifteen minutes to cover the entire surface with henna inspired doodles. The medium is very forgiving and you would have to look very closely to see the various spots where I was knocked by a wriggly toddler on my lap. If you try a similar exercise, bear in mind that the ink takes a little while to dry, so take care not to smudge.

tablet cover silver black henna tattoo
I also had these tiny white teacups that came as a freebie at some point. The cups are cute but had unappealing corporate branding on them. I of course, decided to transform these with my own random patterns. From what I have read online, these need to be baked in the oven for a few minutes to prevent the colour from washing out over time, but I have not done this yet.

crafts decor cup silver white


I wish I could post a picture of the candle that I decorated, but it seems to have grown feet. Next time! I have a few more ideas with these that I hope to share soon! 

(Note: this is not a sponsored post)

Monday, 13 April 2015

Scissor Happy- Easy Cut and Paste Activities for Little Ones

Noodle has just mastered the technique of using scissors to cut paper, so cut and paste activities are very popular with her at the moment. This means paper cuttings all over the house but I have indulged her as this is great for encouraging the development of fine motor skills. (Also, these are activities which she can do on her own with little intervention from my side, so I can get some work done while she does these).

Here are some of the cut and paste activities we have been doing:
  • "Shopping cart"- This is something Noodle requests over and over. We draw a big trolley on a piece of paper. Then I give Noodle some grocery store pamphlets and get her to cut and paste the items she is 'buying'. I sometimes add a twist by telling her to find only healthy food or some other specific category of items. Another variation of the above is that we draw a house and make her cut and paste furniture and other items and place them in the correct room of the house. 
  • I let her cut out shapes using paper, foam, wool and cardboard and paste these onto paper to create pictures.
  • Paper jewellery creations- I let her cut strips of paper and glue the ends together to make bracelets. Several smaller, thinner 'bracelet' loops can also be interlinked to make paper necklaces. Larger sheets of paper or cardboard can be used to make crowns.
  • We have tons of paper plates left over from past birthdays and these are cut to make masks (Pooh Bear and the Ninja Turtle ones were big hits), flowers, clocks and many more. 
  • I help Noodle to make 'snowflakes' out of paper. (Use a square piece of paper, fold in quarters and then cut patterns).
  • Craft scissors can be used to create all kinds of exciting patterns (though Noodle still finds these hard to use).
  • There is also a wealth of cutting printables available online and these also prove to be popular.
Obviously, with children, blunt nosed safety scissors should always be used. We try to recycle where possible using leftover material from other projects.

Sunday, 29 March 2015

Just stuff we did at home last week

There were a few rainy days this past week, so the kids enjoyed several indoor activities at home:
  • We did a hand print painting this week using glitter finger paint to make a butterfly (I just added glitter to some regular finger paint). The top set of hands belong to Squish and the bottom set to Noodle. 

Butterfly hand prints

  • Noodle painted a bird with the leftover paint and added a foam beak and googly eyes.
 
Glitter bird


  • We baked a tasty chocolate cake. Nothing fancy, a box mix topped in caramel and sprinkles. Noodle did most of the decorating.


  • We blew bubbles. 
Recipe for home made bubbles:

1/3 cup dishwashing liquid
1 1/4 cups water
2 teaspoons sugar

  • We played I spy. For Noodle, I give her the sound the word begins with rather than the letter since she cannot really spell yet.
  • We played (lots of) hide and seek. Squish is surprisingly good at this for a fourteen month old!
  • We turned our lounge into a recording studio and had a sing-along, using the Yokee app, where the lyrics to practically any song are available.

Thursday, 19 February 2015

Keep Calm and Make a 'Calm' Bottle

Like every parent, I sometimes battle with controlling the tantrums thrown by the little ones.

I read online about an occupational therapy technique using 'Calm' Bottles as a tool for helping children self regulate those uncontrollable meltdowns. Of course, I decided to try it out, as naughty corners and scoldings are not always effective (plus they look pretty).Best of all, I employed child labour for the task and got Noodle to do most of the work in making the bottle.

I bought two little bottles of Drink-o-pop Kid-O cool drink (the type of thing I typically do not let my kids drink, but I liked the size and shape of the bottle for this task and wanted plastic bottles for this purpose to avoid damage by angry kids). I have seen glass jars used, but would strongly recommend plastic for children. Once the contents of the bottles were decanted, this is how we made it:
  1. We squeezed a few tubes of glitter glue at the bottom of the bottle.
  2. We poured in a full bottle of glitter. I also added some other random sparkly bits.
  3. We added hot, but not boiling water, adding more water or glitter depending on the consistency desired. The difference in viscosity between the water and the glue create a beautiful swirly effect.
  4. We added a few drops of purple food colouring and gave everything a good stir.
  5. I glued the jar lid on with superglue (as we do not want little hands spilling glue and glitter everywhere).
  6. Some ribbons and sparkles were added for good measure.
The idea is that when the little ones throw tantrums they get a time out until the glitter settles to the bottom of the bottle. If they shake it, it will take longer so they have to stay still. In the meantime, the pretty swirly colours will mesmerize them into a mysical trance of calmness. Squish is still a little young for time outs but I have used the technique very successfully with Noodle, who calms down seconds after I hand her the bottle even through the worst tantrums.
The bottle used for the 'Calm' Bottle
The end product (excuse the poor photo quality which does not really capture the full glitter effect).

Wednesday, 11 February 2015

Stretching the Imagination with Loombands- Playing and Upcycling


Remember how a few months ago these colourful bits of elastic were everywhere you looked? My pre-teen nieces and nephews have alerted me to the fact that the loomband fad has officially passed. Nobody has let my four-year-old Noodle know this though and she still loves them. Truth be told, I encourage it as I think they are great for building fine motor skills in younger children. Also, the shops all have them at a steal at the moment.


When Noodle first brought them home, I needed to watch a couple of Youtube vidoes to figure out the basics, since the Chinglish instructions were a bit confusing. Once we got into it, they get rather addictive. We stuck to the basics with Noodle but I have also made one or two of the fancier braided ones for her myself (with her helping by sorting colours for me). We have stuck to straightforward bracelets, rings and pencil grips but the possibilities are endless.

Loomband bracelets made by Noodle and I
loombands

The real dilemma at hand... what to do with all these space occupying gremlins once the kids no longer play with them? Now that they are not exactly trending anymore, I am sure there are many households with a surplus of these rainbow monstrosities.  Apparently they are not made of a material that cannot be recycled so once the little have discarded them, re-purposing them is the way to go for green families.


Some upcycling ideas for loombands:

  • They work well as hair ties for fine braided hairstyles (or use a chain of them for larger braids or as a headband).
  •  They can be used to tie stacks of banknotes, business cards etc.
  • They can be used as ties for small plastic packets or in lunchboxes to hold cutlery together.
  •  I have not tried this yet, but would like to try using it to make a squishy toddler bump friendly tablet case.
  • Cut them up and use for cut and paste art activities on cardboard (black for hair, green for grass etc).
  • Remember that game we played way back in the day? England, Ireland, Scotland, Wales? The one where you jump in and out of elastic bands? I have seen it has made a comeback with the older kids in the family and that they have made one extra long round loomband rope for this purpose. They also use the rope for skipping, limbo games and the list goes on.