Showing posts with label tactile. Show all posts

Wednesday, 28 October 2015

Messy Fun with Marshmallow Dough


I was cleaning out the cupboards when I found a tin of (very) expired custard powder. I hate wasting food and as custard powder is essentially just flavoured, coloured cornstarch (maizena) and you will know by now that I use cornstarch for many things, from dry shampoo (see this post for directions), to nappy rash cream (make a paste with a little water) to goo (see this post for instructions). Today, I decided we would just have fun with it.


I found a recipe online using cornflour and shaving foam a while back. I do not remember what they called it but I will dub it marshmallow dough as it has that super soft, fluffy, powdery texture of marshmallows, but is just more stretchy and pliable. You have to feel the texture for yourself to understand just how soft and fluffy it is (but be warned- you will want to play with it too). 

Mine happened to have a sweet marshmallow-like smell thanks to the lovely vanilla fragrance of the custard powder. If you are using cornstarch and not custard powder, you could add a few drops of marshmallow essence (or any other fragrance).


INSTRUCTIONS:
 
So here is what you do.

First you add some shaving foam to a bowl (about the amount that a man would use to shave his face, if that makes any sense). The kids loved this part!!!


You can add a few drops of food colouring if desired. Noodle wanted pink and I added some pink gel colouring, but thanks to the yellow colour in the custard powder mine turned out more of a peachy-orange colour. Alternatively, you could leave it white (if using normal cornflour and not custard) and use it to create faux snow.

Now add the custard powder (or cornflour) a little at a time until you get the desired texture (I probably used about half the amount of the shaving foam) and mix. 


Then it is play time! Let the kids mould, stretch, pull, squeeze or poke to their hearts desire.

(WARNING: This might smell delicious but it is not edible). 


This gets messy as the dough is very sticky, so protect surfaces or play with it outside (like we did) and have a bowl of soapy water close by. You will be glad to know that it washes out very easily (due to the soapiness of the shaving foam I suppose).

Squish was covered in it by the time we were done and I literally needed to hose him off outside before coming back on the house. 

The bad news is that it loses its texture after about an hour one all the air inside the shaving foam has been squeezed out (well that was our experience anyway). It is fun while it lasts though!

Wednesday, 29 April 2015

Psychedelic Hair Mousse Art

I remember previously seeing some interesting uses for shaving foam for art activities on Pinterest. When I spotted a bottle of hair mousse in my drawer which was older than Noodle (I am not sure why I actually own hair mousse since I have no recollection of ever using it), I figured that it should have similar tactile properties and decided to let the kids experiment.Today's quick, messy art activity with my little ones needed just three things: paper, the hair mousse and food colouring.
 
kids art painting mousse shaving cream toddler sensory
Top left: mousse squirted on paper | Bottom left: Food colouring fizzing on mousse | Right: End product
We squirted lots of hair mousse onto a page- both kids had a turn at this and found this bit hilarious. Then we sprinkled a few different colours of food colouring all over the page (today I used powder colour as this made the mousse fizz and make interesting noises, though I am sure other types might create better results aesthetically). We may have used a bit too much purple colour as this seems to have overpowered the other colours a bit.

Then the kids got to squish their fingers into the foamy, fluffy, fizzy mess for a fun, sensory experience. I let Noodle make patterns in the foam using a plastic fork and a toothpick. Then we blotted it a bit with a paper towel and left it to dry. The result was a psychedelic rainbow of colour.

The mousse is quite soapy and washes off hands without problems. Oh and the paper smells pretty afterwards.

Monday, 20 April 2015

Messy Fun with Edible Yoghurt Paint

If you have smaller kids, they will love getting their hands dirty with this edible finger paint!

At fifteen months, Squish still has a tendency to put everything in his mouth, so I love arty activities that are not likely to end in a call to Poison Control. This yoghurt paint is baby safe and takes just seconds to make and a little goes a long way.

The paint has just two ingredients, yoghurt and food colouring. I used double cream yoghurt (which was about to expire anyway, so I felt less guilty about food wastage) and gel food colouring.

Yoghurt paint made with yoghurt and food colouring
I put about a teaspoon of plain yoghurt into each compartment of an ice tray (I have an old one that is reserved for messy art activities). Then I added a little food colouring to each one. I put a good squirt of colouring in each one as I wanted vibrant colours, but in retrospect I would put less as the finger stains were a bit tough to get out afterwards. Mix the yoghurt and the colour and voila, paint is ready.

Before you let the little ones loose with the paint, I would suggest some mess control as this gets messy. I stripped Squish down to just his vest, put aprons on for both kids and put down a big plastic tablecloth on the floor. Then I let the kids do their thing.


 Squish was reluctant at first, but once he got into it he really enjoyed it. All the colours were soon varying shades of brown and green as Squish dipped his fingers in every pot. Noodle did not seem to mind the colours being mixed- she was lost in deep concentration painting her fairy. Gulp... I made the faux pas of complimenting her ninja turtle (the fairy ninja-turtle is in the top left of the pics below).

The final masterpieces

The end result was quite impressive in my view (but I am biased), although clean up was a bit of a schlep and Squish had to have a bath afterwards. 

P.S. We have experimented with edible paints made with flour, water and colouring before, but I prefer the texture and finish of the yoghurt paint, which does not become powdery once dry. You can also add edible food glitter for a shimmer effect.

Sunday, 29 March 2015

Just stuff we did at home last week

There were a few rainy days this past week, so the kids enjoyed several indoor activities at home:
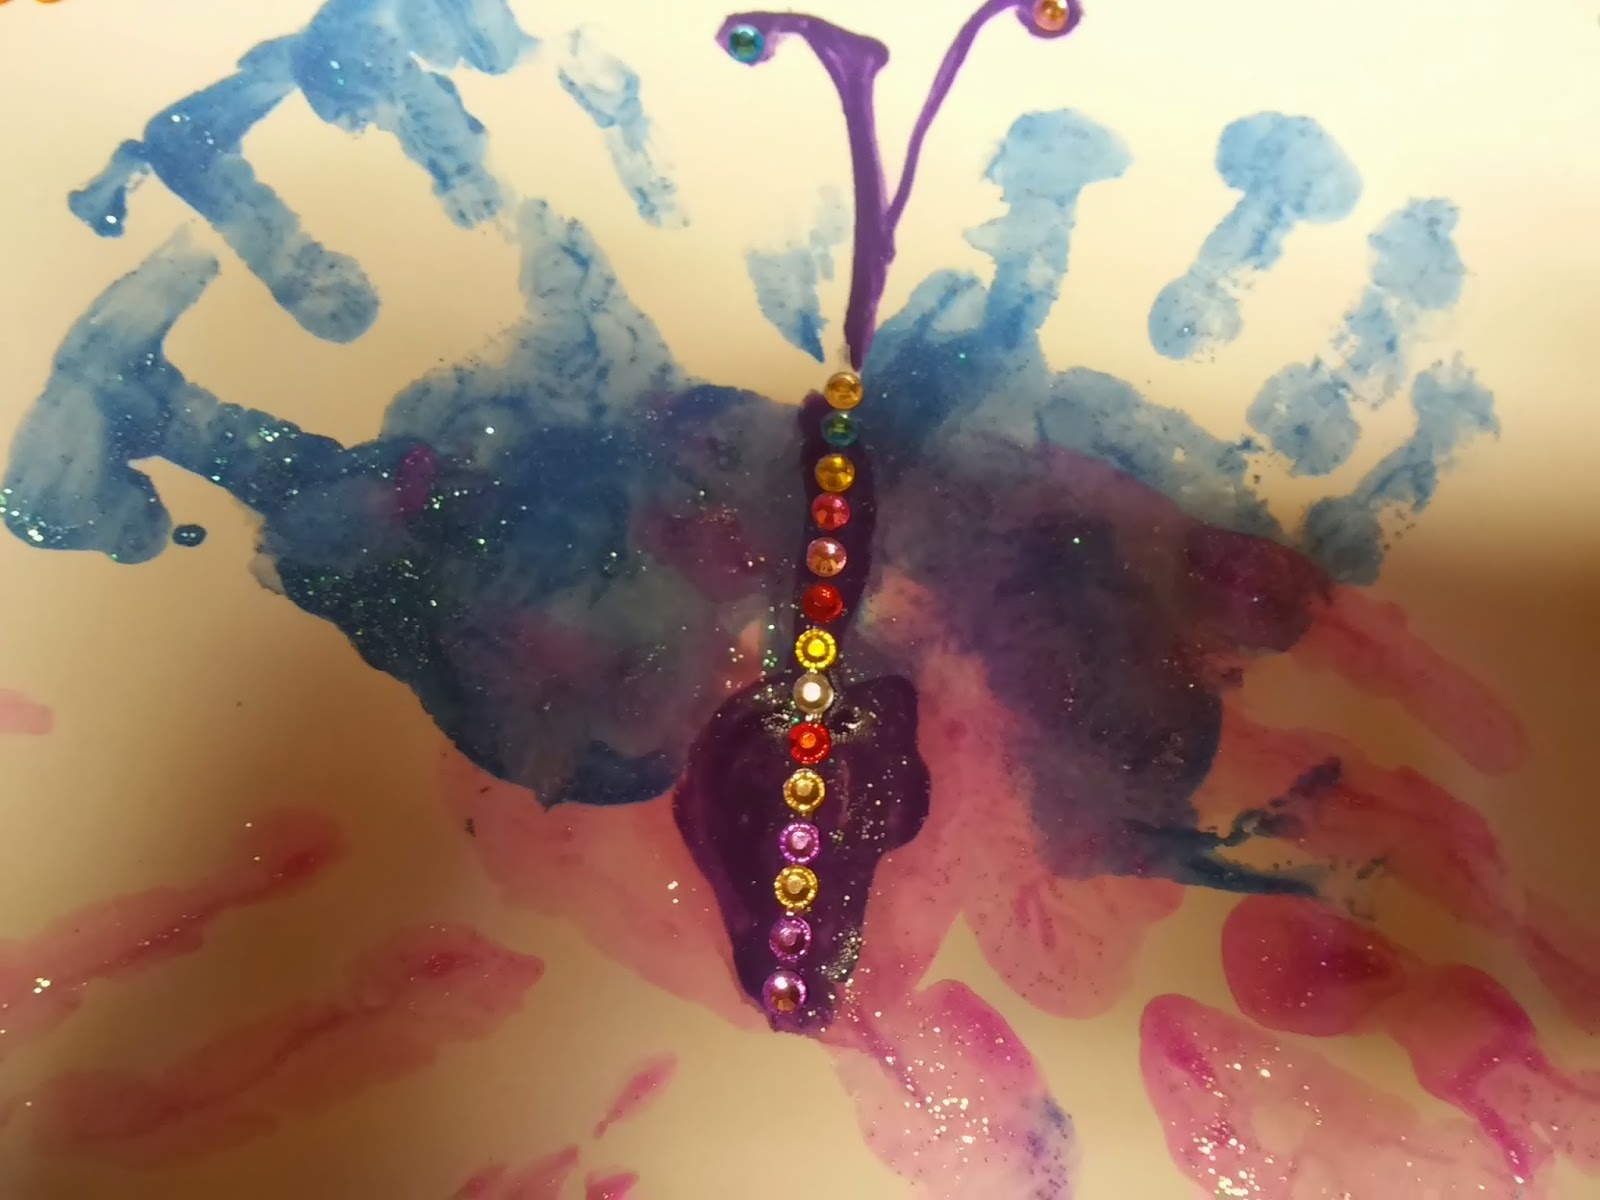
  • We did a hand print painting this week using glitter finger paint to make a butterfly (I just added glitter to some regular finger paint). The top set of hands belong to Squish and the bottom set to Noodle. 

Butterfly hand prints

  • Noodle painted a bird with the leftover paint and added a foam beak and googly eyes.
 
Glitter bird


  • We baked a tasty chocolate cake. Nothing fancy, a box mix topped in caramel and sprinkles. Noodle did most of the decorating.


  • We blew bubbles. 
Recipe for home made bubbles:

1/3 cup dishwashing liquid
1 1/4 cups water
2 teaspoons sugar

  • We played I spy. For Noodle, I give her the sound the word begins with rather than the letter since she cannot really spell yet.
  • We played (lots of) hide and seek. Squish is surprisingly good at this for a fourteen month old!
  • We turned our lounge into a recording studio and had a sing-along, using the Yokee app, where the lyrics to practically any song are available.

Wednesday, 4 March 2015

The Jozi WAHM's Guide to Making Gloopy Goo

This is another fun sensory activity that I came across looking for fun, educational activities that would be suitable for both a four year old and a one year old.

Making the goo is incredibly simple and only requires cornflour (maizena), water and food colouring (optional). This is how it is made:
  1. Place one cup of hot water in a bowl.
  2. I added the food colouring at the end but it was incredibly hard to stir so I would recommend adding it at this point instead. A drop or two is enough. I used green gel food colouring.
  3. Add about two cups of maizena to the water, a little at a time, stirring gently as you go along.You might need a little more or less than this. It will become quite stiff and difficult to stir. 
1. Left: The maizena (cornflour) used to make the goo. Right: Maizena and water mixture. 
Once ready, this mixture takes on amazing properties. It looks liquid, but is solid on touching as force causes its viscosity to change. . If pressed it becomes rock hard, while it becomes liquid again if left alone.

I figured that the science behind non-Newtonian fluids was likely to go straight over the heads of my little ones, but they enjoyed practically testing the amazing properties of this mixture. They enjoyed watching the results as they poked and prodded, turned the mixture upside down (it looks runny but does not move) and squeezed it between their hands. This kept them busy for ages! It did seem to dry out after a while though.

With older children, a physics lesson can be incorporated into the activity.

Warning 1:

This is really messy. I did this outside to minimise the cleaning afterwards. Nevertheless, I had two filthy kids by the end of it. No surprise, Squish ate some of it, but called it quits when he realised it was not particularly pleasant tasting. 

Warning 2:

Do not throw this mixture down the drain as it will cause blockages. Rather dispose of it in he dustbin. Apparently it can be stored in a Ziplock bag for later use, but my mixture was full of grass and toddler drool so I opted to throw it out.

Noodle and Squish getting their hands dirty

Monday, 9 February 2015

Sensational Sensory Rice


I was looking for educational activities that would be fun and stimulating for both little ones. This is sometimes a bit difficult as Squish still tends to put things in his mouth, so I required something that was non-toxic and not too much of a choking hazard (under supervision). When I came across the idea of sensory rice, I thought this would be perfect.

Making the rice was fairly simple and I got Noodle to help me with this part. I used about a cup of rice (the cheapest house brand variant I could find rather than the Basmati rice which I typically use for cooking), split it into three Ziploc bags and added about a teaspoon of vinegar and a gloop of gel food colouring to each. I am sure any food colouring will work- I just had gel colour available and quite like the vibrant colours it produces. Noodle selected violet, orange and lime green. It had a bit of a peculiar vinegar smell, so I added different food essences to each one (granadilla, orange and peppermint to the corresponding colours). We gave each a good shake and left it to dry for a couple of hours. Voila, ready to use.

Some things I have used the rice or plan to use it for:
  • Sensory play- letting them feel it, smell it, transfer from one recycled container to another, sift through a funnel, raking with a fork etc;
  • Putting into sealed containers as shakers for Squish;
  • Colour sorting;
  • Adding and subtracting activities with Noodle;
  • Transferring grains with tongs (for Noodle);
  • Using it for art activities (pasting on cardboard, arrange into shapes etc). 
Note: We played with this outdoors on a large plastic tablecloth to minimise the hassle of cleaning up afterwards. The rice is perfectly re-usable and should last indefinitely if stored in a sealed container. 
Children raking the sensory rice with a fork
Rice 'cupcake'
Rainbow rice 'cupcakes'
After the first use, the colours all got jumbled together to form a beautiful rainbow of colour. Noodle used the mini ice trays to make 'cupcakes' out of the rice.